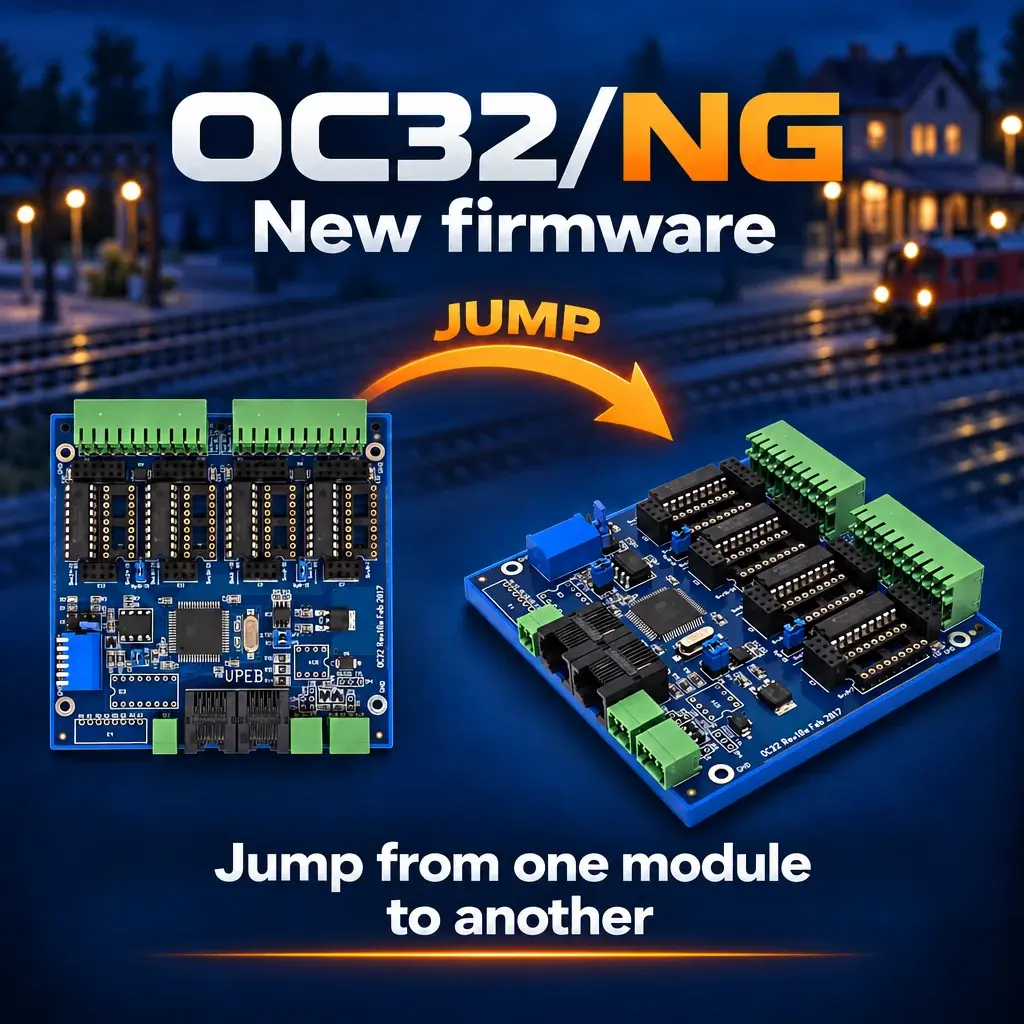
New firmware is available for the OC32, RM-x and a new OC32Config:
OC32Config 3.23
OC32 firmware 3.23
RM-C firmware 1.42
For the release notes, check our Downloads pagina under actuele firmware and actuele software
This is an important update because it fulfills two long-held wishes.
TMxx Feedback
It is now possible to send TM feedback in addition to OC feedback. A feedback is a sensor/reporter used by the control software to trigger an event. Previously, it was already possible to link a feedback instruction to a pin and send it to the control software via OC32 feedbacks. For example, to report an end position or status. With this new option, it can also be done as a TM feedback address. You choose one of the free 128 addresses that have not been assigned to the TM44 or TM-H in an address range. This is useful for software packages that do not support OC32 feedback.
Network Set aspect
With this new instruction, it is possible to “jump” to another OC32 module in your network. Previously, you could only jump to another pin within the same OC32. If a part of your “device” was on a different OC32, it wouldn’t work. With the new firmware and software 3.23, this is no longer a problem!
You add an instruction to an aspect and specify which pin of which OC32 should activate a certain aspect.
This is particularly useful when, for example, you want to control a series of lights in a cycle, but not all lights are on the same OC. Or when a push button in a control panel needs to control a number of pins distributed across various OCs in your network.
Updating your firmware and software
To use this function, it is necessary to update both the RM-x to 1.42 and your OC32 modules to 3.23. There is also an update file for OC32Config.
Software:
Download OC32Config 3.23, extract the .zip file, and place the file in the extracted folder on your desktop or any folder on your computer. A small tip: remove the icon of the previous OC32Config from your desktop first.
Firmware:
These steps are fairly simple and are described in the manuals for the RM-C, RM-U, OC32, and OC32/NG.
In brief, the steps are as follows:
- Open DinamoConfig and connect to your system (you can skip this step for the RM-x)
- Set the RM-x to “Bootloader Transp. Mode” (you can skip this step for the RM-x)
- Open AVRootloader software, which can be downloaded from our downloads page
- Select the COM port of your RM-x
- In the FLASH field, select your downloaded firmware file. This has the .acy extension
- On the OC32, place a jumper over the RESET pins (you can skip this step for the RM-x)
- Click “Connect device” in the software
- On the OC32, remove the jumper in one smooth motion; on the RM-x, press the reset button next to the LEDs once briefly. Both the power and data LEDs (green and orange) will now be lit continuously
- Now click “Program” in the software and wait until the log window appears.
- Now click “Disconnect Device” in the first window
Repeat steps 6 through 10 for each OC32 module in your network.
Is it not working? Please contact your dealer; they can assist you with this.